5 Steps to Set Up Google Analytics For Nonprofits
In order for nonprofit marketing strategies to be successful, it’s essential to keep an eye on analytics to understand what’s working and what’s not.
Is your nonprofit using Google Analytics? Or is all your web data going out the window? Google Analytics is a free analytics platform, which tracks online web traffic. It allows you to see where your traffic is coming from, which pages people have visited and whether they stuck around to learn more. With Google Analytics, you can effectively target your online audience. This can be accomplished in five simple steps.
Step 1: Sign up for Google Analytics
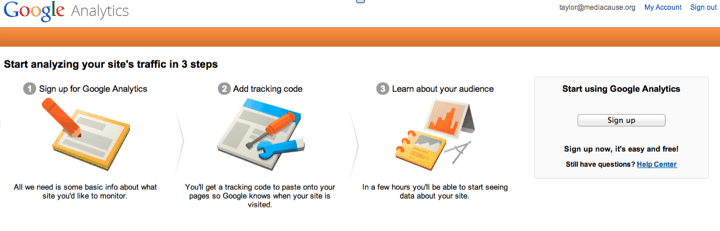
First things first, create a Google Analytics account. If you have an Adwords account you will want to link them together and not create another one. Next, install the web tracking code provided by Google Analytics.
1. Go to the “Admin” tab within Google Analytics
2. Click on the “Tracking” info tab
This is the most important step to setting up your Google Analytics account. Without the code, there will be no tracking. Google creates a code built specifically for your website, so all you need to do is put the code in every page on your website.
If you’re experiencing any problem, check out Google web tracking support.
Step 2: Familiarize yourself with Google Analytics terms
When you log in to Google Analytics, you’ll see terms like CTR and bounce rates. Without a general understanding of the terminology it will be difficult to utilize all that Google Analytics has to offer. Google Analytics makes it easy to understand the key terminology. Below are some of terms that you will need to know.
- The Basics: Concepts in the report
- Metrics: CTR, Conversion Rate, Bounce Rate
- Traffic: Direct vs. Referral, Organic vs. Paid
These basic terms are important when setting up goals and objectives as well as explaining your findings to your team.
Step 3: Learn where your traffic is coming from
Once you have the terminology down, now it’s time to put it to work. Before you can set up any goals or objectives, it is important to understand how your nonprofit’s website is currently doing in terms of traffic.
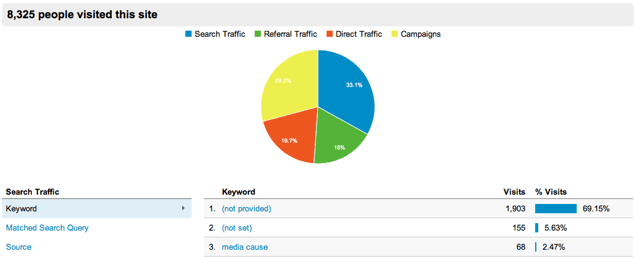
This report shows where traffic is coming from and which pages or keywords got them there.
Now, generate a quick report to check your traffic sources. This will help you become familiar with your audience and allow you to target and segment them effectively.
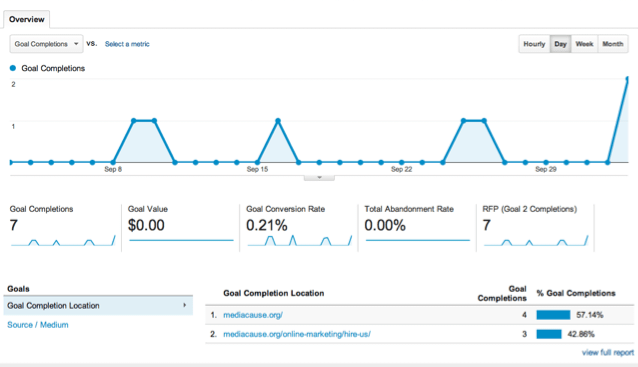
Step 4: Set goals and objectives
First think about the purpose of your nonprofit’s website. Is your number one objective to increase lead generation? Or obtain donations? Or provide general information? Choose a primary and secondary goal you would like to track.
Goals allow you to analyze your traffic and determine what is valuable and what is not. This is the beginning of measuring the effectiveness of your nonprofit’s digital marketing efforts.
Step 5: Test and report for 30 days
Observe and report website activity for the next 30 days – anything less is too short and will create insufficient data. Analyze the conversation rate to get an idea how well your goals are being achieved.
If conversion rates are low, consider where traffic is coming from (search, paid or organic) as well as where traffic is going (pages within website). Lastly, adjust ads (if Facebook ads are not being effective consider changing copy or targeting), SEO and/or social platforms to enhance your nonprofit’s goals and run a trial again. Once you become more familiar with Google Analytics, it will become much easier identify and measure your traffic.
If you have any questions about Google Analytics for nonprofits, feel free to leave a comment below.